Main Setup
Last Update: 10-10-20231. Navigate to "Main Setup" Section
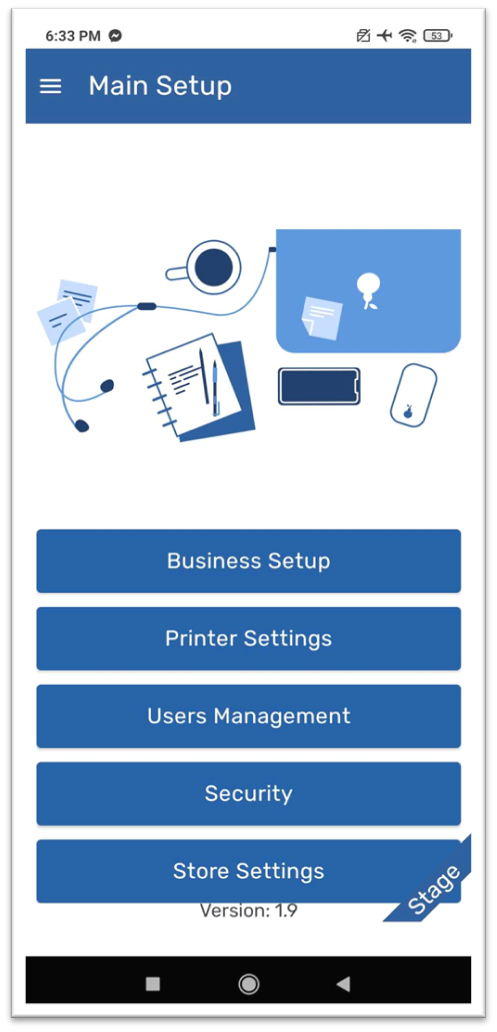
-- Open the Spread X application on your device.
-- Locate and enter the "Main Setup" section, often found in the main menu or settings.
2. Profile Setup
Input Profile Information
-- Enter essential details about your account, including name, contact information, and email address.
3. Business Setup
Input Business Information
-- Fill in essential details about your business, including the business name, License Number, TRN, contact information, address, and any other pertinent information.
4. Printer Settings
Configure Printers
-- Set up and configure printers such as POS, Bluetooth, Inbuilt, A5, or M2.
5. Users Management
Add New Users
-- Add new users to the system by inputting their details and assigning roles or permissions based on their responsibilities.
Modify User Permissions
-- Adjust user permissions as needed, ensuring that each user has access to the necessary features while maintaining security.
Security
-- Locate and enter the "Security" settings to implement measures for protecting sensitive data.
-- Enable option to require passcode.
Set Up Passcode
-- Establish a passcode maximum of 4 digits.
6. Store Settings
Configure Currency
-- Locate the "Currency" option within the "Store Settings."
-- Choose the currency that aligns with your business operations.
-- Confirm that the selected currency is displayed consistently throughout the application, including receipts and reports.
Set TimeZone
-- Access the "TimeZone" setting within "Store Settings."
-- Choose the timezone that corresponds to the physical location of your business.
-- This ensures accurate timestamping of transactions and reporting based on the local time.
Define Store Name
-- Find the option to set the "Store Name" in the "Store Settings" section.
-- Input the official name of your store as you want it to appear on receipts and in the application.
-- Confirm that the store name is accurately reflected in all customer-facing and internal communications.
Enable / Disable VAT settings
Enabling or disabling Value Added Tax (VAT) in store settings is a crucial feature for businesses to accurately handle tax calculations in transactions.
-- Look for the option labeled "VAT settings" within the "Store Settings."
-- If VAT is currently disabled, find the toggle switch associated with enabling VAT.
-- Toggle the switch to enable VAT and vice-versa.